To ensure adequate coverage in your department during breaks, a break nurse can be scheduled. This document covers the steps needed to apply a schedule tag to designate a shift as a break nurse shift, the optional steps for renaming a shift label, and the steps for running dataviews to see reporting information related to break nurse scheduling.
Hot to Tag a Shift as a Break Nurse Shift
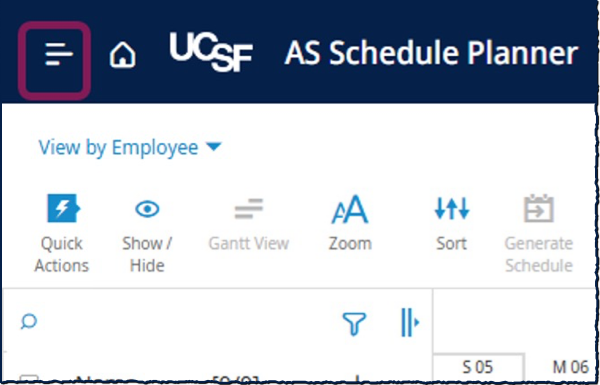
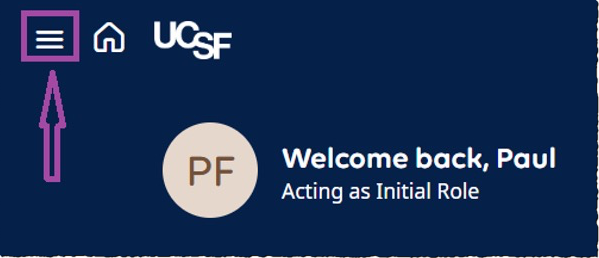
- From the Home Page, open the Main Menu in the top left corner of the screen.
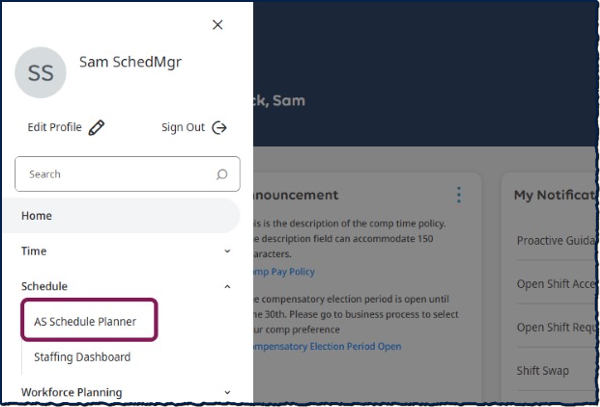
- Expand the Schedule section and select AS Schedule Planner.
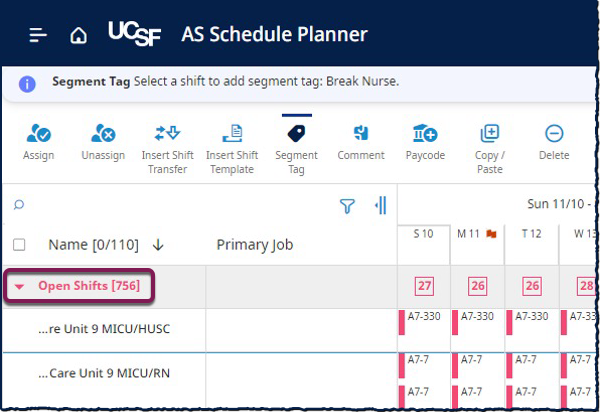
- From the Schedule Planner page, expand the Open Shifts area.
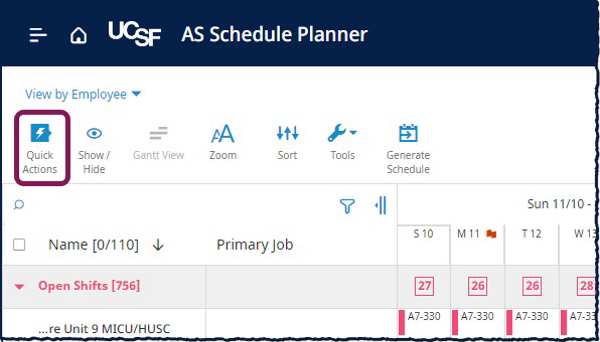
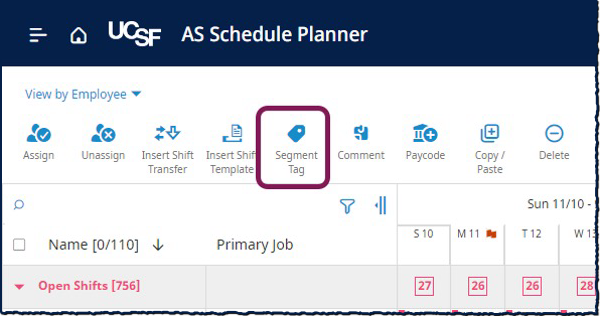
- Select Quick Actions to expand the actions bar.
- Select Segment Tag.
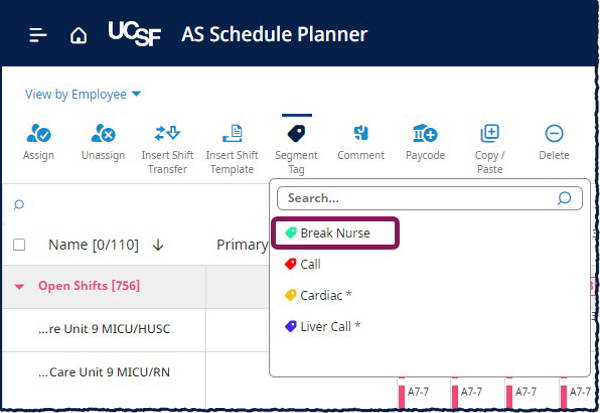
- Select the Break Nurse tag.
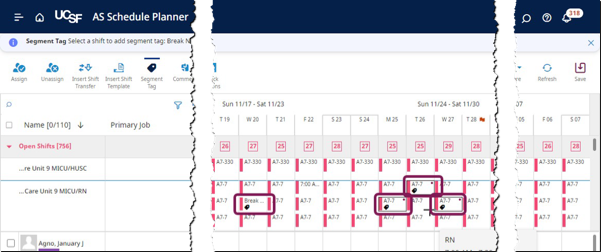
- Select the Open Shifts that you would like to tag as Break Nurse shifts.
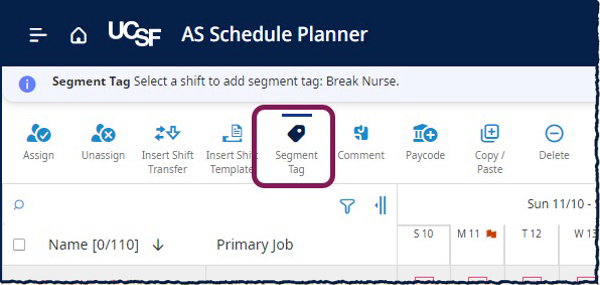
- Once the tags are assigned to the appropriate shifts, select the Segment Tag button from the Action Bar to deactivate the Tag action.
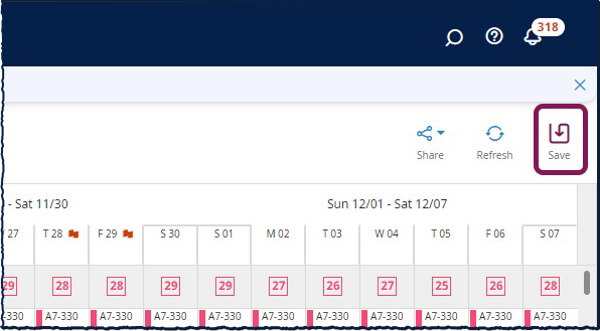
- Select Save.
Editing a Shift Label
To make it easier to tell that a shift is a break nurse shift, you can optionally change the shift label to reflect that it is specifically for a break nurse.
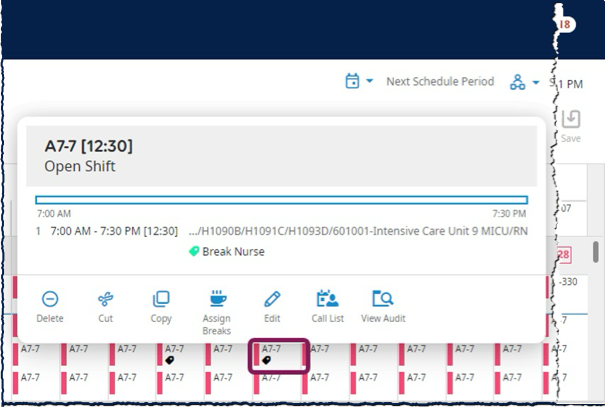
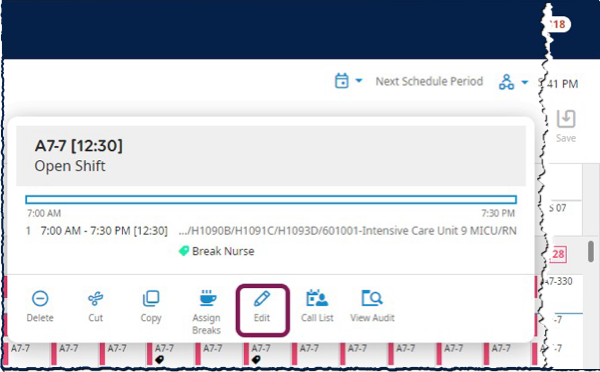
- In the Schedule Planner, right click on the shift that has a Break Nurse tag that you would like to update the Shift Label for.
- Select Edit.
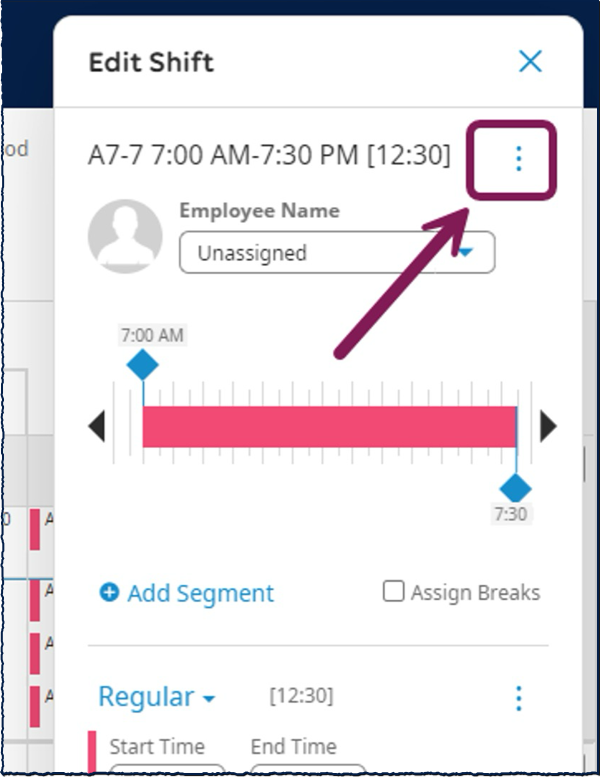
- In the Edit Shift menu, select the three dots at the top near the Shift Label.
- Select Change Shift Label.
- Enter Break Nurse into the label.
- Select Apply to submit the new label.
- Select Apply to make the shift edit.
- Select Save to record the shift label change


Reviewing Break Nurse Assignments in a Dataview
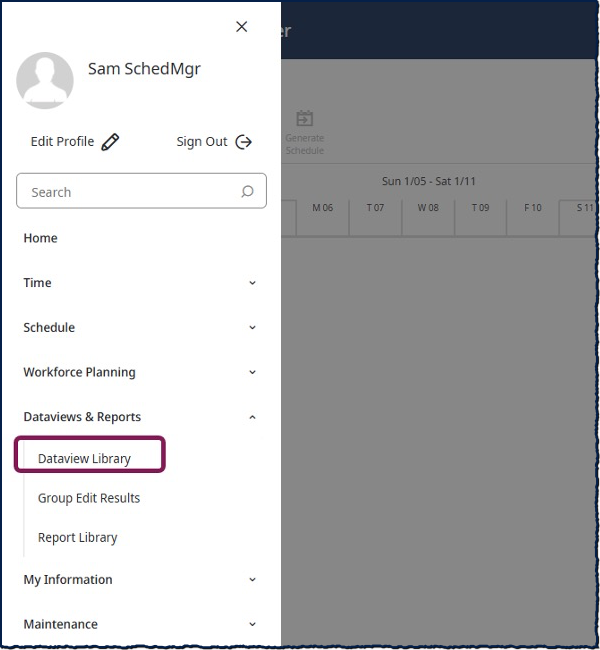
- To view Break Nurse Assignments in a Dataview, navigate to the Dataview Library by opening the Main Menu.
- Expand the Dataviews and Reports section and select Dataview Library.
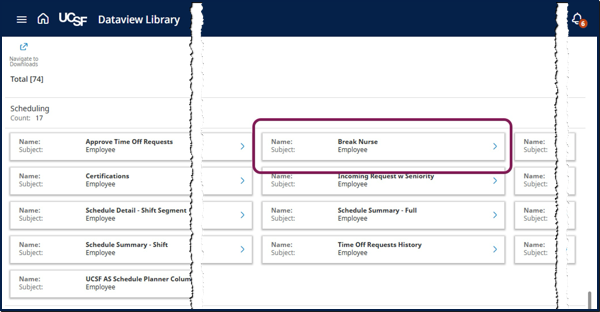
- In the Dataview Library, open the Break Nurse dataview.
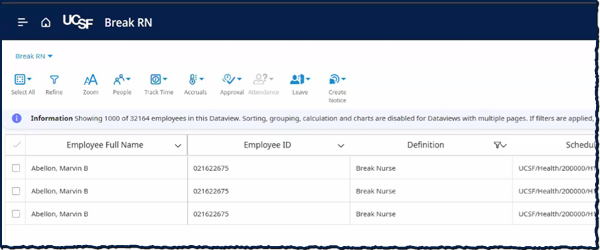
- Review employees who have the Break Nurse tag, their scheduled assignment, and the shift time.