Dataviews are configurable reports that provide in-depth views into real-time data. Dataviews can be exported and contain links to take action as needed on schedules and timecards. For example, you can view a list of employees whose timecards need sign-off and then perform the sign-off on the group.
Review the steps below to access and personalize a Dataview. For a detailed demonstration of using Dataviews, review the Managing Timecards training for managers, available in the UC Learning Center.
How to Access the Dataview Library
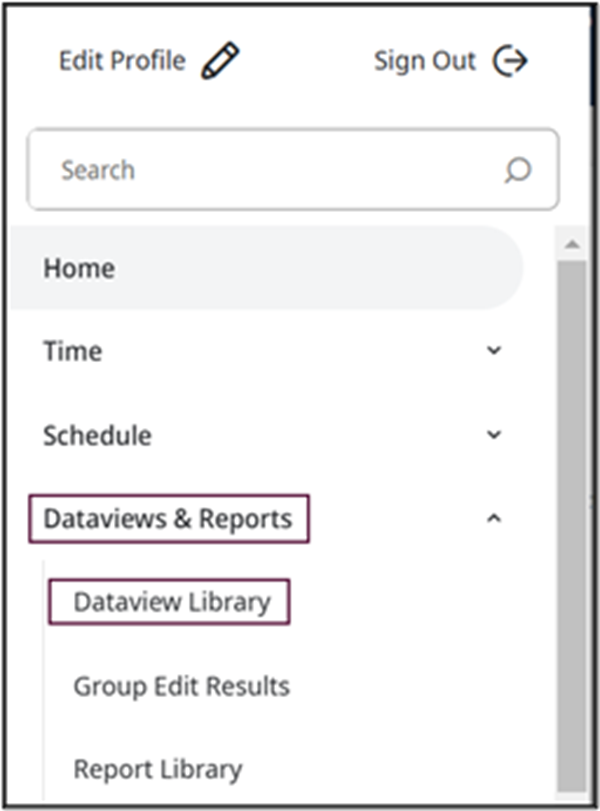
The Dataview Library contains the list of Dataviews available based on your level of access in MyTime.
- From the Main Menu, navigate to Dataviews & Reports, then select Dataview Library.
- From the Dataview Library, select the Dataview that you want to run.
How to Personalize Data Parameters
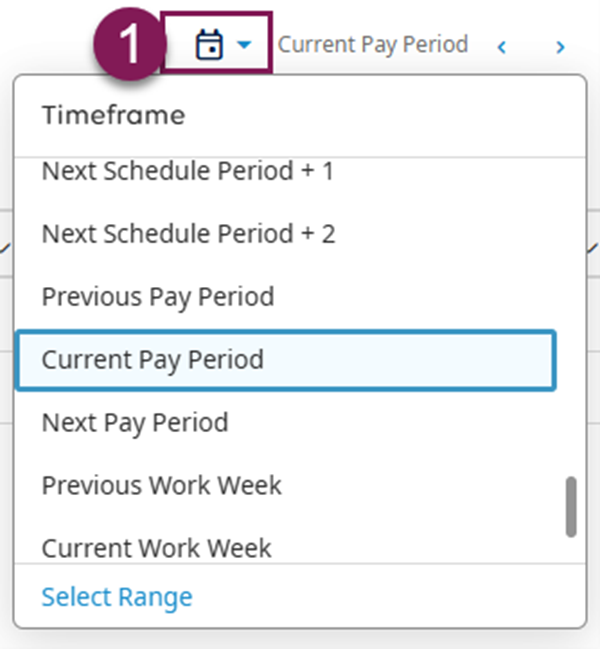
- In the Dataview, select Timeframe to select or update the date range.
- Select from pre-configured timeframes.
- Use Select Range to enter a custom timeframe.
- Use the “<” and “>” arrows to change the date range value based on the timeframe selected.
Note: If you are accessing the Dataview after the end of the period to perform approval for a pay period, select the pre-configured value Previous Pay Period. If you are reviewing during the current pay period, select the value of Current Pay Period.
- Click or tap the Select Hyperfind icon to select the employees or location in your organization that you want to analyze, for example, Direct Reports.
- Select from pre-configured Hyperfinds
- See Create a Personal Hyperfind for step-by-step instructions on customizing your selection criteria.
- Use the Refine link to sort, filter, group, and further refine results.
For a detailed demonstration of using the Refine features, review the Managing Timecards training for managers, available in the UC Learning Center.